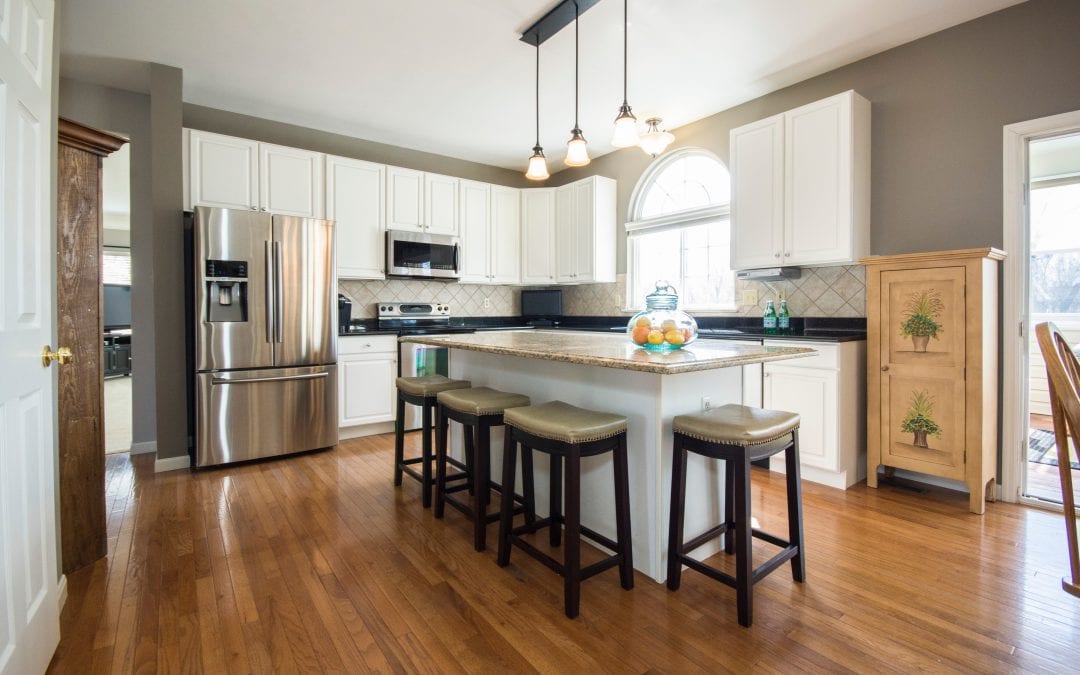
Hardwood floor restoration – sanding wood floors.
Do you look at your hardwood flooring and wish it would look like new again? Luckily, you can take care of it yourself in a professional manner. Restoration is a great way to enliven the floor for much less money involved than when replacing it with new. First, prepare the work area by removing the carpeting. Use a putty knife for scraping and hammering down any protruding nail heads. To get rid of debris vacuum the whole area and then mop it.
Now that your floor is prepared for restoration, the next step is to remove the damaged layer with a large walk-behind sander which you can rent at your local home improvement retailer. Keep in mind there are two types of sanders: drum and vibrating. The first one is applicable only in case of severe damage, while the other one may be used afterward. Advisable grit papers for the sanders are respectively 36-60 and 80-100.
Making your hardwood flooring look like new again.
Edges can be a bit problematic as they are harder to reach. In this case, use an edge sander that you will most likely get as a part of the rental. Before using any sander remember to practice on a hidden area. Once the floor is sanded out make sure that all the remaining holes are covered with wood paste – a mix of sawdust and wood glue. After that, you want to make sure no debris is present on your floor. Once done, ventilate the area and get yourself a mask and a pair of gloves as it is time to apply the stain. We recommend using lamb’s wool applicator to speed up the process. However, if you feel like the whole procedure is too time-consuming for you, there is no shame in calling professional flooring contractors like us who will get the job done for you.


