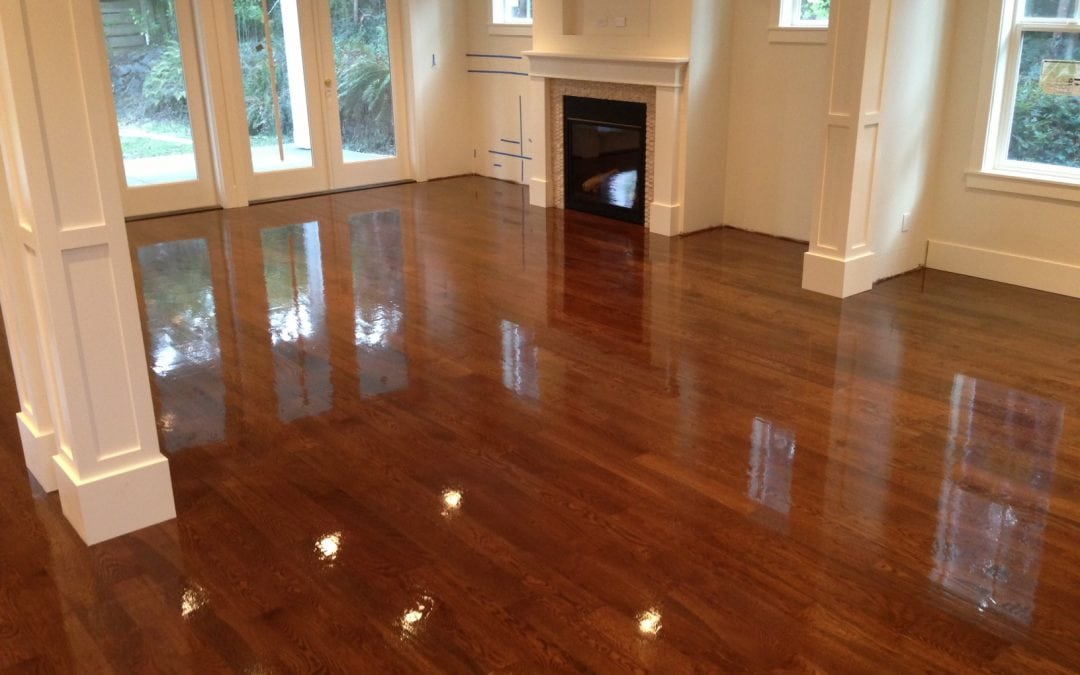
Before you refinish your hardwood floors, sanding them down is highly recommended. Some homeowners opt to handle this process themselves, but it can be quite tricky and it’s often recommended that it’s taken care of by professionals. Whether you’re looking to sand the floors yourself or hire a professional, it’s great to understand the full process. Know the ins and outs of hardwood floor sanding so you can make sure the process is completed professionally and up to the highest standards.
Preparing To Sand Your Hardwood Floor
The first step in preparing for hardwood floor sanding is to remove all your furniture and cover your doorways in plastic. There is typically a lot of dust created by sanding, so make sure you cover up any air grilles to keep dust out. Shutting off your AC is a good way to reduce air circulation in your home and minimize the traveling of dust throughout. It’s also advised that you remove art on your walls so you can avoid cleaning them later. Next, you should take doors off the hinges if they open into the room that’s being sanded. There’s no way to entirely sand under them unless they’re removed.
The Process of Hardwood Floor Sanding
A professional hardwood floor refinisher will start with measuring your room and provide you with an estimate based on its size. Then, the contractor will begin work using two separate sanders for different parts of the project. First, they’ll cover the majority of the area with a drum sander, which covers large areas at a single time. In order to effectively sand the perimeter of your room, they’ll use a more specialized tool called an edger. Between the two, your entire room should be entirely sanded and ready for refinishing in no time. Any small areas will be handled with a sharp scraper to make sure your new finish will be entirely uniform and even.
